
Guide to Label Printer Maintenance for Uptime
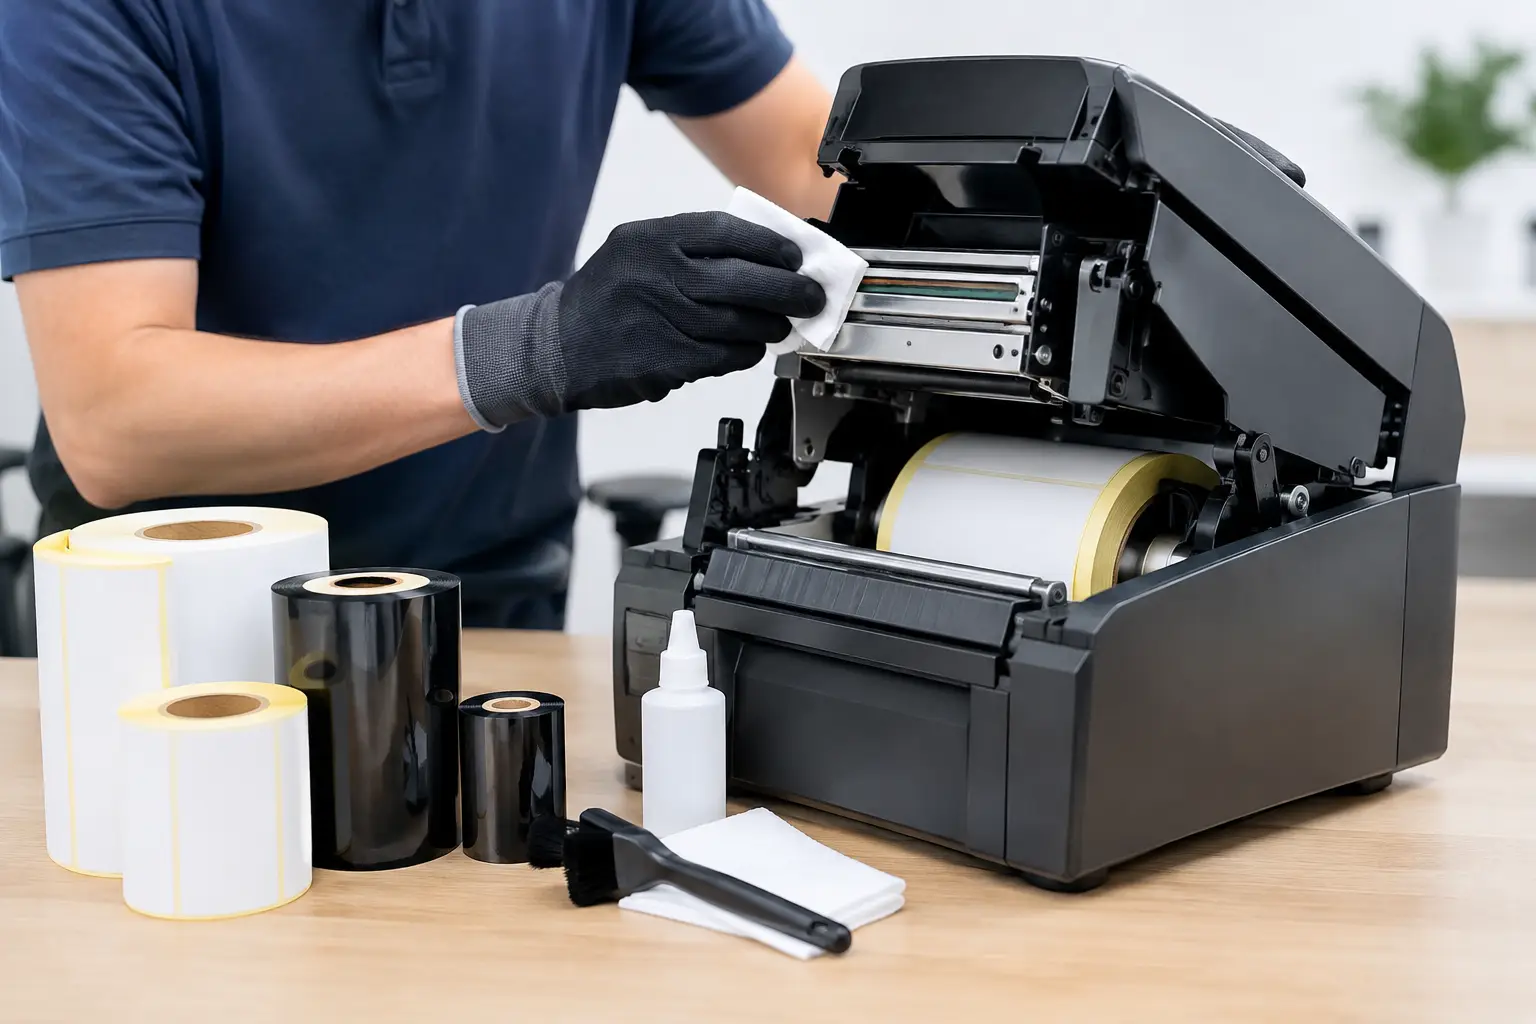
A label printer rarely fails at a convenient time. It fails when a shipping lane is backed up, when a production run is due, or when a customer needs traceable product labels now. This guide to label printer maintenance focuses on the work that prevents those disruptions: keeping the print path clean, using compatible supplies, checking print quality, and catching wear before it becomes downtime.
Thermal label printers are dependable industrial tools, but they operate with heat, pressure, adhesive, and moving media in a small mechanical space. Dust and adhesive buildup can quickly turn a sharp barcode into a label that will not scan. A practical maintenance routine protects more than the printer. It protects inventory accuracy, shipping speed, compliance labeling, and the life of your printhead.
Why Label Printer Maintenance Protects Your Operating Cost
The printhead is the most valuable wear component in a thermal printer. It contains a row of tiny heating elements that create the image on direct thermal media or transfer ink from a ribbon onto a label. When adhesive, coating residue, or dust builds up on the printhead, the printer may need more heat to produce a readable image. That added heat shortens printhead life and can create faded areas, streaks, or incomplete barcodes.
Maintenance also reduces wasted labels and ribbons. A printer with an improperly cleaned sensor may skip labels, stop between labels, or calibrate the wrong gap. A dirty platen roller can cause slipping, uneven darkness, and poor registration. These issues often look like software or printer faults at first, but the cause may simply be contamination in the media path.
The right schedule depends on volume, label material, and environment. A clean warehouse printing a few hundred labels each week needs less frequent service than a food plant, manufacturing floor, or logistics operation printing thousands of adhesive labels per shift. Operations using aggressive adhesives, synthetic materials, or resin ribbons should inspect the printer more often because residue can accumulate faster.
Start With the Right Labels and Ribbons
Printer maintenance begins before the roll enters the printer. Low-quality labels may shed lint, leave excess adhesive behind, or have inconsistent spacing. Poorly matched ribbons can wrinkle, produce weak print, or leave residue on the printhead. The lowest purchase price is not always the lowest operating cost when supplies create frequent adjustments, reprints, and premature component replacement.
Match the label material and ribbon formulation to the application. Wax ribbons are often suitable for paper labels and general-purpose indoor identification. Wax-resin and resin ribbons are typically selected when greater resistance to smudging, abrasion, chemicals, or moisture is required. Direct thermal labels do not use a ribbon, but their image can fade when exposed to heat, sunlight, or abrasion, so they are usually best for short-life applications such as shipping labels.
Also confirm that roll width, core size, winding direction, and sensor configuration are correct for the printer. A label that is technically the right size but wound incorrectly can complicate loading and calibration. Consistent, properly converted labels and ribbons help the printer run at its intended settings instead of forcing operators to compensate with excessive darkness or pressure.
A Guide to Label Printer Maintenance: The Core Routine
Always turn off the printer and allow the printhead to cool before cleaning. Follow the printer manufacturer’s instructions for access panels, cleaning materials, and component handling. Do not scrape the printhead with metal tools, use abrasive materials, or spray liquid directly into the printer.
For most thermal printers, a routine cleaning cycle should cover these areas:
- Printhead: Use an approved lint-free swab or cleaning pen to wipe the print line from side to side. Clean it whenever a ribbon or label roll is changed in high-volume applications, or at a regular interval based on actual print volume.
- Platen roller: Rotate the roller by hand and remove adhesive, paper dust, and residue with the approved cleaner. Replace the roller if it is cracked, glazed, deeply grooved, or no longer feeds media evenly.
- Media sensors: Blow away loose dust with clean, dry air as permitted by the manufacturer, then carefully clean accessible sensor surfaces. Dirty sensors are a common source of skipped labels and calibration errors.
- Ribbon path and guides: Remove ribbon dust and check that guides are positioned against the media without squeezing or bending it. Confirm that the ribbon tracks smoothly and does not wrinkle.
- Exterior and cutter or peel mechanism: Wipe away dust and label debris. If the printer has a cutter, remove small label fragments before they accumulate and interfere with movement.
Record the cleaning date, printhead condition, and any symptoms found. That record is useful when multiple operators use the same equipment. It also helps identify patterns, such as a particular label stock causing buildup or a printhead that is approaching the end of its service life.
Clean at the Right Interval
There is no universal number of labels between cleanings. As a working rule, clean the printhead after each ribbon change for thermal transfer printing, especially in demanding environments. For direct thermal printers, clean it when replacing label rolls or whenever print quality begins to decline. If labels run continuously through several shifts, a brief daily inspection is usually more cost-effective than waiting for visible defects.
Do not confuse cleaning frequency with a reason to over-clean. Excessive handling can damage delicate components. Use approved supplies, a light touch, and a schedule tied to the printer’s workload.
Keep Print Quality High Without Overdriving the Printer
When a barcode looks light, many operators immediately increase print darkness. That may solve a short-term problem, but it can create a longer-term one. Higher darkness settings increase heat at the printhead and can make bars spread, fine text fill in, and labels look overly dark. It also adds unnecessary stress to the printhead.
Start by cleaning the printhead and platen roller. Then verify that the label and ribbon are compatible, the ribbon is installed correctly, and the media path is properly aligned. Run the printer’s calibration procedure if it is missing gaps or marks. After that, adjust darkness and speed in small increments, then scan test labels with the same scanners used in the operation.
Print speed matters as well. Higher speeds are useful for large batch runs, but very small text, dense barcodes, high-resolution graphics, and demanding ribbon materials may require a slower speed for consistent quality. The best setting is the lowest heat and fastest speed that produces durable, scannable labels for the application.
Diagnose Common Problems Before Replacing Parts
A repeating white line through every label often points to a damaged or contaminated printhead element. First clean the printhead carefully. If the line remains in the same location across multiple label rolls and print jobs, the printhead may have failed and should be evaluated for replacement.
Faded print across the entire label can result from low darkness, high speed, an incompatible ribbon, a worn printhead, or a ribbon installed with the coated side facing the wrong direction. Wrinkled ribbon usually indicates incorrect media alignment, a worn platen roller, improper head pressure, or a ribbon width that does not suit the label width.
Labels that stop in the wrong position usually require sensor cleaning and media recalibration. Before changing settings repeatedly, make sure the printer is configured for the correct sensing method: gap, black mark, notch, or continuous media. Incorrect sensing settings can waste an entire roll even when the mechanical components are in good condition.
If the printer feeds labels but the image does not match the intended format, check the software configuration, printer driver, print resolution, and label dimensions. Label design software should be set to the physical stock being used. EasyLabel has supported business labeling workflows since 1982 and works with major printer manufacturers, helping operations maintain consistent formats without forcing a subscription or support contract for basic software ownership.
Plan for Wear Parts and Operator Consistency
Printheads and platen rollers are wear parts, not unexpected failures. Keep critical replacement parts available when printer uptime directly affects shipping or production. This is particularly sensible for high-volume operations, remote facilities, or systems that use a specialized printer model. A replacement printhead is far less disruptive when it is already on site and installed by a trained operator or service technician.
Train operators to recognize early warning signs: repeated ribbon wrinkles, labels drifting sideways, uneven print density, frequent calibration failures, and adhesive buildup. A short loading and cleaning procedure posted near the printer can prevent common mistakes across shifts. It should identify the approved label and ribbon part numbers, the correct loading direction, cleaning materials, and the escalation contact when the issue persists.
For businesses purchasing a complete labeling system, The Label Guy can provide Tharo printers, EasyLabel software, labels, ribbons, and USA-based technical support from one specialized source. Tharo H- and T-Series 4-inch 203 and 300 DPI printers include a two-year or two-million printed-inch warranty, while 600 DPI and 6-inch models include a one-year or one-million printed-inch warranty. Replacement printheads are also generally more cost-effective than those for many flagship competitor models.
A clean printer, correctly matched supplies, and realistic print settings give your team something more useful than a maintenance checklist: dependable labels when the operation cannot pause.