
How to Fix Thermal Label Misalignment Fast
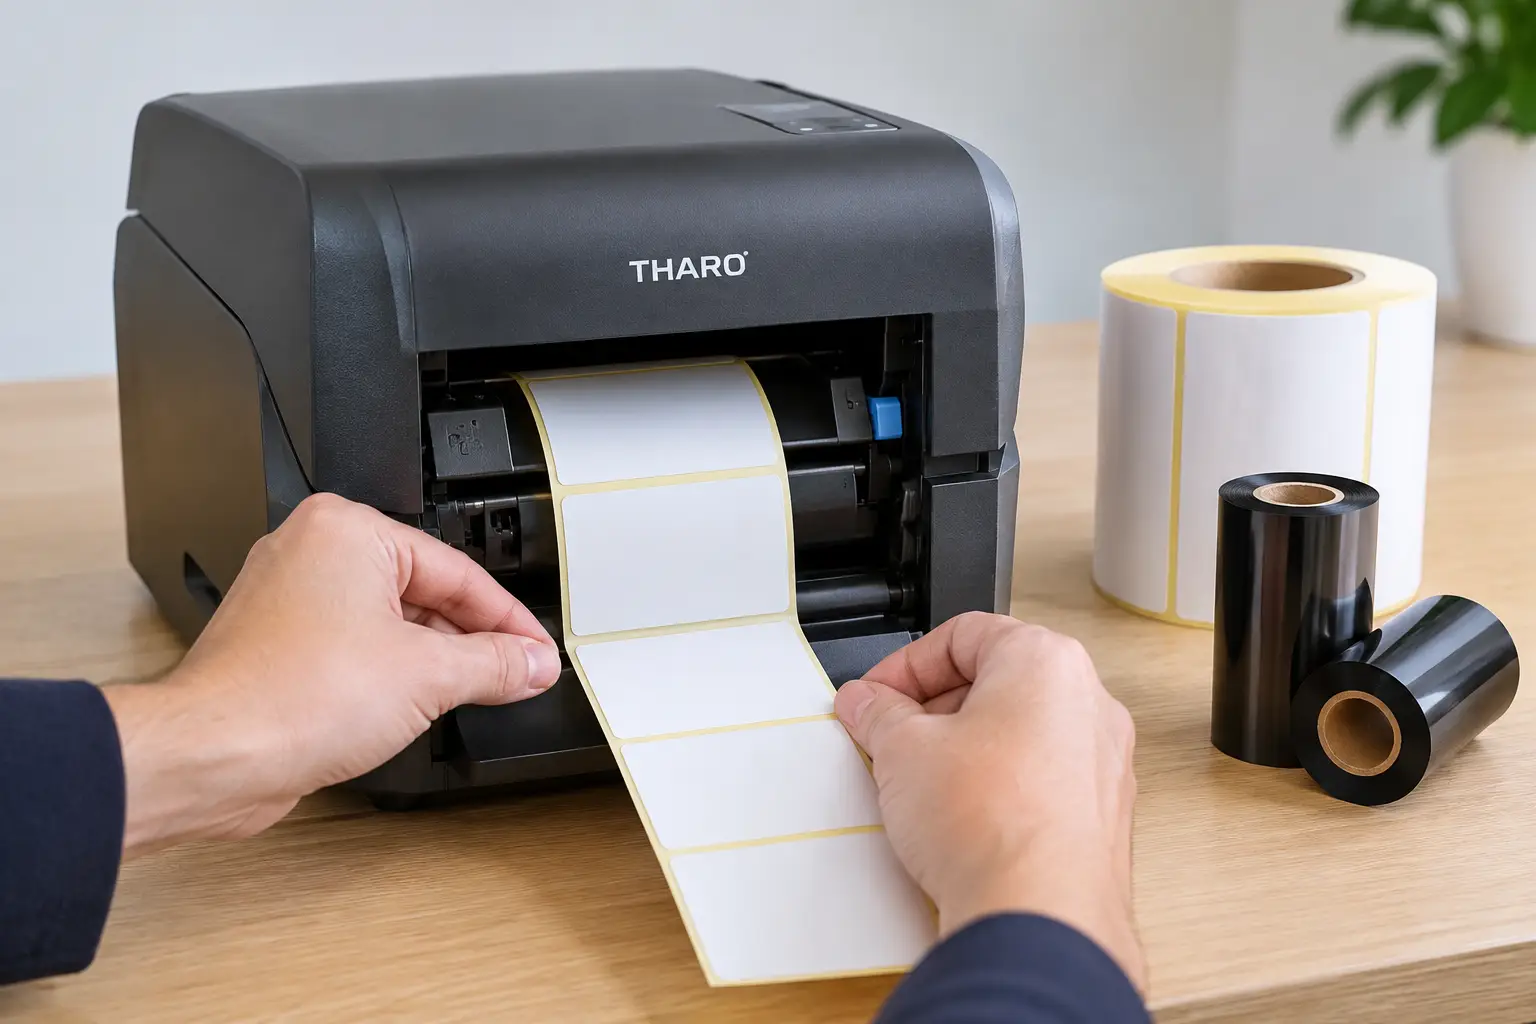
A label that starts printing too high, too low, or halfway onto the next label creates more than waste. It can make barcodes unscannable, cover required product information, interrupt shipping, and force operators to reprint work that should have moved out the door. To fix thermal label misalignment, start by identifying whether the printer is failing to detect the label correctly or whether the label format is telling it to print in the wrong place.
That distinction matters. Repeatedly pressing the feed button or changing random settings may temporarily move the image, but it rarely corrects the cause. A dependable thermal labeling operation needs the printer, media, ribbon, driver, and label design to agree on the same label dimensions and sensing method.
Start With the Type of Misalignment
Look at a few labels before changing settings. If every print begins at the same incorrect vertical position, the label design, print driver, or top-of-form setting may be wrong. If the printer skips labels, prints across the gap, or drifts farther off position over several labels, the media sensor or calibration is the more likely issue.
Horizontal misalignment is different. When print is shifted left or right, inspect the label width, media guides, printhead pressure, and the width setting in the printer and software. A label roll that is not centered can pull media through at an angle. This often shows up as a barcode that looks acceptable at the beginning of a job but moves toward an edge as the roll advances.
Before adjusting anything, verify the actual label size with a ruler. Do not rely only on the size printed on a carton or a remembered setup. Measure the printable label width and height, then measure the gap between labels, notch, or black registration mark if applicable.
Check How the Printer Senses Your Labels
Thermal printers need a clear reference point to know where one label ends and the next begins. The printer may use a gap sensor, a reflective sensor for black marks, or a sensor that detects a notch. If the sensing method does not match the media, the printer cannot consistently find the top of each label.
For standard die-cut labels on a liner, select gap or transmissive sensing. For tags or labels with a black mark on the back, select reflective or black-mark sensing. For notched media, use the appropriate notch setting. A common problem occurs when a printer remains set for black-mark media after an operator loads gap labels, or vice versa.
Open the printhead and make sure the sensor path is clean. Adhesive dust, paper debris, and ribbon residue can interfere with detection, especially in warehouse environments where label rolls are changed often. Use approved cleaning supplies and allow the area to dry before reloading media.
Also make sure the sensor is positioned correctly. Some printers have movable sensors, and the sensor must align with the gap, notch, or black mark. On narrow labels or unusual tag layouts, a sensor left in the center of the printer may never see the registration feature.
Run Media Calibration After Every Material Change
Calibration teaches the printer the length and sensing characteristics of the loaded stock. It should be performed whenever you change label dimensions, switch from labels to tags, load media with a different gap or mark, or install a materially different liner.
Follow the printer’s calibration procedure rather than simply feeding labels until the printer appears to stop in the right place. Proper calibration advances the media, measures the label transition, and stores the correct reference. After it finishes, press Feed several times. Each press should advance exactly one label and stop at a consistent position.
If calibration fails, inspect the media path. Labels must be loaded straight, the guides should touch the roll without crushing it, and the roll must unwind freely. A roll that catches on a spindle or guide can produce intermittent feed errors that resemble a sensor problem.
Verify Label Size in the Printer, Driver, and Software
A thermal printer may be calibrated perfectly and still print in the wrong location when the format size is wrong. The media dimensions must match in three places: the printer configuration, the Windows driver or print queue, and the label design software.
For example, a 4-by-6-inch shipping label requires a 4-inch width and 6-inch height in the design. If the software sends a 4-by-4 format or the driver is set to a different stock size, the printer may stop correctly between labels while the image itself begins in the wrong location.
Check orientation as well. A design created in portrait mode but sent through a driver configured for landscape can create an apparent alignment problem that is actually a rotation or page-size mismatch. Avoid using scaling options such as “fit to page.” Thermal labels should print at their intended size, not be resized by an application or operating system.
Review Print Position and Tear-Off Settings
Most industrial thermal printers include a vertical print-position adjustment and a tear-off adjustment. These settings are useful for small corrections after proper calibration. They are not a substitute for matching the media type and label dimensions.
Use print position when the image is consistently too high or too low by a small, repeatable amount. Use tear-off position when the printer prints accurately but presents the next label too far forward or backward at the tear bar. If the printer has a peeler, cutter, or rewind option installed, its mode must match the actual media path. A printer configured for peel mode can feed differently than one set for tear-off mode.
Make one adjustment at a time and print a short test run. Record the setting that works. This prevents a familiar situation where several operators make changes over a shift and no one knows which setting caused the problem.
Inspect Labels, Ribbons, and Printhead Condition
Media quality has a direct effect on registration. Inconsistent label gaps, unevenly wound rolls, poorly placed black marks, or liner that curls can cause the sensor to read unreliable transitions. Low-cost stock may look comparable on the outside, but inconsistent converting tolerances can create feed problems that consume labor and material over time.
For thermal transfer printing, verify that the ribbon is the correct width and formulation for the label material. The ribbon should be slightly wider than the label to protect the printhead, but not so wide that it wrinkles or drags. A wrinkled ribbon can make the print look crooked or incomplete, even when the label position is correct.
Clean the printhead on the maintenance schedule recommended for your printer and more often in high-volume operations. Residue does not usually cause the printer to lose label position, but it can make a small alignment issue appear worse by producing faded barcode edges and missing text. Never scrape the printhead with a sharp object.
If labels are consistently feeding sideways, inspect the platen roller and printhead pressure settings. Worn rollers, uneven pressure, or a damaged printhead latch can allow media to wander. At that point, recalibration will not solve the mechanical cause.
Fix Thermal Label Misalignment at the Design Level
When the printer feeds one label at a time correctly but the artwork remains misplaced, open the label file. Confirm the document size, label origin, margins, and object coordinates. Check whether a recent file change added a white margin, shifted a barcode, or changed the selected printer.
This is where dedicated label design software is preferable to adapting office-document layouts. EasyLabel is built to define precise label dimensions, barcode placement, variable data, and printer-specific output without relying on page-scaling behavior. It has been a leading label design platform since 1982 and works with major printer manufacturers, which helps reduce the handoff errors that occur between generic software, drivers, and industrial printers.
For operations with multiple printers, standardize approved label formats and name them clearly by size, material, and application. A shipping department should not have to guess whether “4×6 Final” was designed for a direct thermal shipping label, a thermal transfer product label, or a different printer resolution.
When Calibration Is Not Enough
If the printer continues to skip labels after cleaning, sensor alignment, media verification, and calibration, test with a known-good roll of the correct stock. This quickly separates a media issue from a printer issue. If the problem persists with known-good media, review the sensor, platen roller, firmware, and mechanical feed components.
Businesses that rely on barcodes for receiving, inventory, compliance, or shipping should not accept recurring alignment problems as normal. The cost is not limited to wasted labels. It includes delayed orders, rejected scans, rework, and operator time.
The Label Guy can help businesses match Tharo printers, EasyLabel software, labels, ribbons, and technical support as one working system. For many buyers, that means one USA-based support contact instead of trying to determine whether a printer maker, software provider, or consumables supplier owns the issue.
The practical goal is simple: load the correct media, calibrate it correctly, verify the format, and save the working configuration. Once those controls are in place, the printer should feed cleanly and put every barcode, warning panel, and shipping address exactly where it belongs.