
A Laboratory Sample Labeling Example That Works
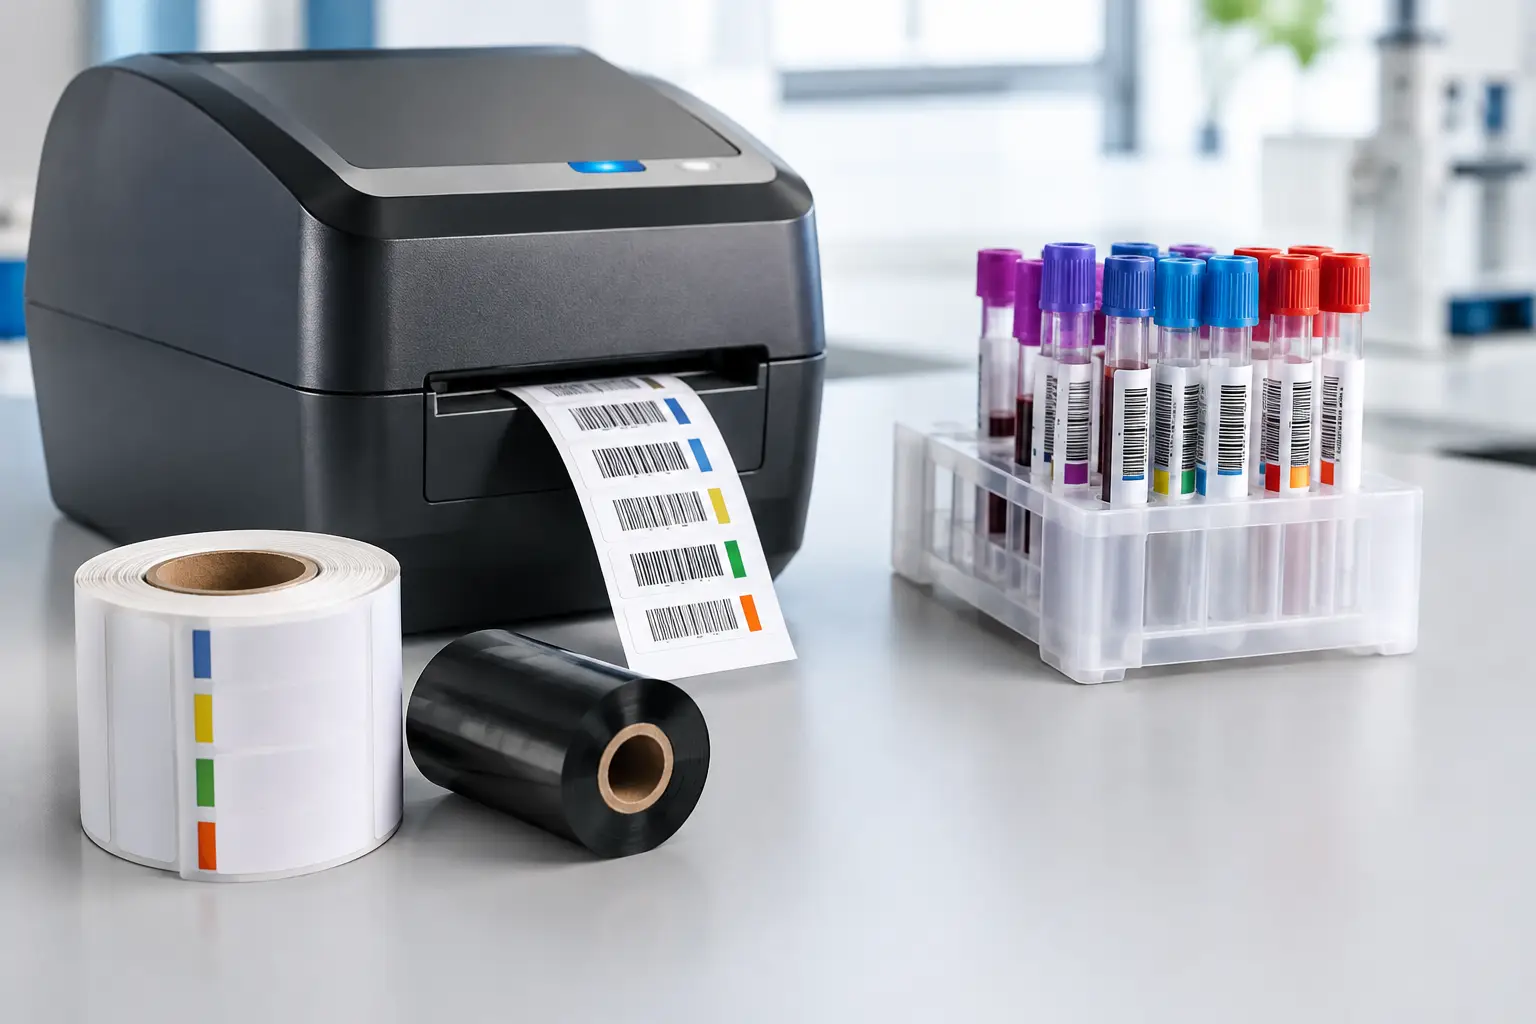
A laboratory sample labeling example is more than a formatting exercise. It is the point where patient, product, environmental, or research data becomes physically connected to the specimen moving through your operation. If that connection fails, a high-value test can become unusable, a batch release can be delayed, or a compliance investigation can become far more difficult than it should be.
For laboratories, the goal is not simply to print a readable label. The goal is to create an identification standard that survives collection, transport, refrigeration, freezing, handling, testing, storage, and retrieval. That requires the right data, a barcode that scans reliably, and label materials matched to the real environment.
A Laboratory Sample Labeling Example
Consider a laboratory receiving water samples for microbiological testing. A practical label might include the following information in a clear, scan-friendly layout:
“`text Sample ID: WS-2026-10482 Client: North Valley Foods Sample Type: Process Water Collection Date/Time: 10/17/2026 14:35 Collected By: J. Smith Test Requested: Coliform / E. coli Storage: Refrigerate 2-8 C Barcode: Code 128 encoding WS-2026-10482 “`
The sample ID is the primary identifier. It should be unique, stable, and used in the laboratory information management system, chain-of-custody paperwork, test reports, and any retained-sample records. The human-readable text gives technicians a quick way to verify the sample without scanning, while the barcode speeds receiving, bench processing, and report association.
The exact fields depend on the application. A clinical specimen may need patient identifiers, date of birth, specimen source, and collector information. A manufacturing quality-control sample may need a lot number, production line, work order, and test method. A research sample may need project, study, treatment group, time point, and storage location. The principle remains the same: include the information needed to identify, process, and trace the sample without crowding the label with data nobody uses.
What Every Laboratory Sample Label Should Accomplish
A useful sample label answers four practical questions immediately: What is this? Where did it come from? When was it collected or created? What should happen to it next?
The answer to “what is this?” is typically the sample type and unique sample ID. The source may be a patient, supplier, production lot, sampling point, location, or research subject. Date and time are critical when hold times, stability windows, or shelf-life rules apply. The final question often appears as storage instructions, hazard information, testing priority, or a requested analysis.
Not every label needs every field. Small cryovials, for example, cannot support a full chain-of-custody record in readable text. In that case, print the unique ID, a compact barcode, date or batch indicator, and perhaps a short sample code on the vial. Put the expanded information on the outer bag, rack label, or accompanying documentation. Trying to force too much text onto a small label creates a label that is technically complete but operationally weak.
Keep the Identifier Consistent
A sample number should not change as the specimen moves from receiving to preparation, testing, retain storage, and disposal. If an aliquot is created, use a controlled child identifier such as WS-2026-10482-A1 rather than inventing an unrelated number. That relationship helps personnel trace the aliquot back to the original sample without relying on memory or handwritten notes.
Consistency also matters in the label format itself. If collection date appears as month/day/year on one label and year-month-day on another, transcription errors become more likely. Organizations working across locations often prefer an unambiguous format such as 2026-10-17, especially when samples may move internationally.
Make the Barcode Work at the Bench
A barcode is only valuable if it scans on the first attempt. For many laboratory workflows, Code 128 is a practical choice because it can encode letters, numbers, and common punctuation in a compact format. Data Matrix is useful when label space is limited, such as on tubes and vials, but it requires compatible scanners and well-controlled print quality.
Do not make barcodes unnecessarily dense. A label designer may allow a long string to fit in a tiny space, but the scanner, print resolution, label curvature, condensation, and technician workflow determine whether it performs in the real world. Test the actual printed label on the actual container with the scanners used by the lab.
Barcode content should generally be a unique key, not a paragraph of embedded details. When a sample ID scans into the LIMS or other tracking system, the system can display the client, test method, collection details, and status. This reduces label clutter and avoids problems when a detail changes after the label has been printed.
Label Material Must Match the Sample Environment
A paper label may be adequate for a dry, room-temperature document pouch. It is rarely the right long-term choice for a refrigerated tube, a frozen vial, or a sample exposed to solvents, moisture, abrasion, or repeated handling.
For demanding laboratory applications, polypropylene or polyester labels paired with thermal transfer ribbon are common choices. These materials can provide better resistance to water, chemicals, smudging, and abrasion than basic paper stock. The correct ribbon matters as much as the label face stock. Wax ribbons are economical for general-purpose paper labeling, while wax-resin and resin ribbons provide stronger durability on synthetic materials. A resin ribbon is often the better fit where chemical resistance, freezer performance, or long-term readability is required.
Temperature is another decision point. A label applied to a room-temperature tube before freezing may behave differently from one applied directly to a frozen container. Curved surfaces, condensation, and textured plastics can affect adhesion. Before standardizing a material, test it under real conditions: refrigerator storage, freezer cycles, centrifuge handling, wipe-down procedures, and the chemicals used in the laboratory.
Design the Label for Fast Verification
A good laboratory label has a clear visual hierarchy. The sample ID should be easy to locate. Critical instructions, such as “Freeze,” “Protect from Light,” or “Rush,” should be visible without requiring staff to read every line. Avoid using color as the only way to communicate meaning, since labels may be printed in monochrome and color distinctions can be missed under pressure.
Use readable fonts and adequate spacing. Small labels demand careful choices, but shrinking every element is not the answer. If the label cannot hold essential information legibly, change the workflow by using a larger container label, secondary label, or barcode-driven record lookup.
Print orientation matters as well. A label wrapped around a tube should place the key identifier where it remains visible once applied. For vial labels, the barcode may need to run vertically to preserve scan width. For sample bags and cartons, labels should be placed on a smooth, accessible panel rather than over folds, seams, or closures.
Reduce Errors With Controlled Label Printing
Handwriting sample identifiers may be acceptable for a temporary exception, but it is not a dependable primary process for high-volume or regulated work. Handwritten labels are slower, harder to standardize, and vulnerable to legibility and transcription problems. Thermal transfer printing produces consistent text and barcodes while allowing laboratories to print data directly from a database, spreadsheet, LIMS export, or order record.
EasyLabel software is a strong fit for laboratories that need to build repeatable label templates without adding an ongoing software subscription or mandatory support contract. It has been a leading label design platform since 1982 and is used by thousands of companies worldwide, including large enterprises and government agencies. Its printer compatibility also gives laboratories flexibility when standardizing equipment or replacing older hardware.
For teams purchasing a complete system, The Label Guy can supply EasyLabel, Tharo thermal printers, labels, ribbons, and USA-based technical support from one source. That matters when a label design, printer setting, ribbon choice, and label material all need to work together. A lower-cost printer purchase can become expensive quickly if it produces poor barcodes, requires frequent printhead replacement, or leaves staff coordinating support between multiple vendors.
Tharo printers can be a cost-effective alternative to flagship printer lines, particularly for operations that need reliable 4-inch thermal transfer printing. Their 203 and 300 DPI H-Series and T-Series 4-inch models carry a two-year or two-million-printed-inch warranty. Replacement printheads are also generally less expensive than comparable competitor replacements, which can reduce long-term ownership costs.
Validate Before You Roll Out the Template
A laboratory sample label should be validated in the hands of the people who receive, prepare, test, and store specimens. Print a realistic batch, apply labels to the actual containers, and scan them at each point where they will be used. Check readability after refrigeration, freezing, transport, and normal handling.
Ask technicians whether the label makes the next action obvious. If they repeatedly write extra information on the container, search for the record manually, or cover the barcode with tape, the design needs revision. The best labeling standard is not the one that looks clean on a computer screen. It is the one that keeps samples identifiable and traceable when the laboratory is busy.