
How to Calibrate Thermal Printers Correctly
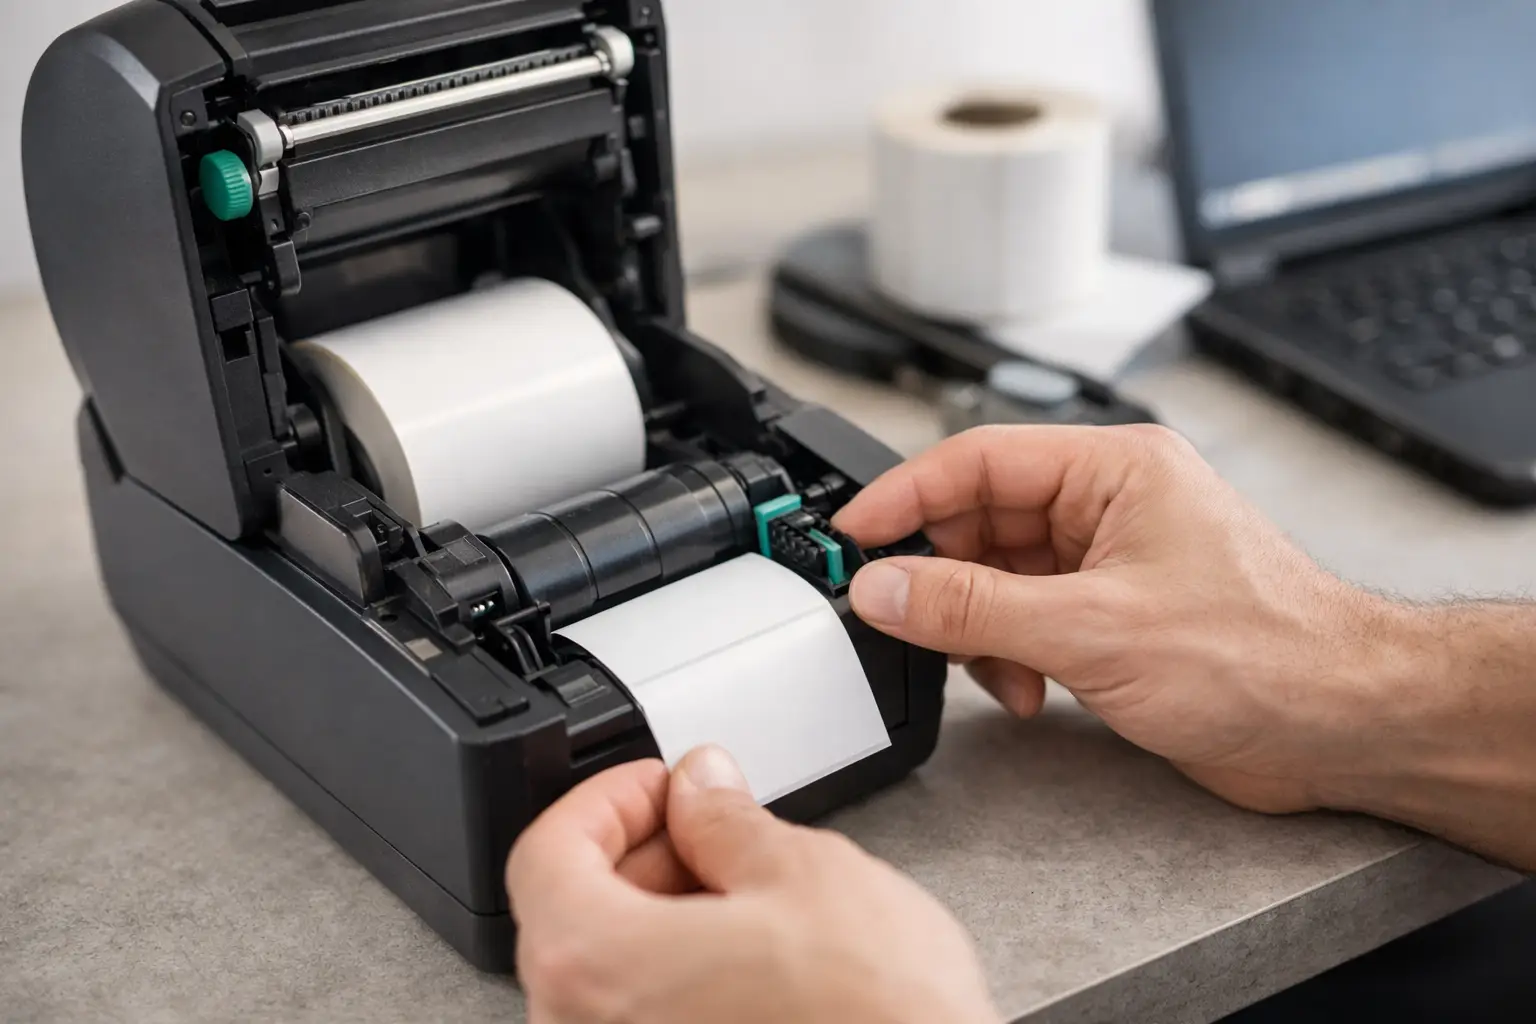
A thermal printer can be mechanically sound, loaded with the right labels, and still waste material if it does not know where one label ends and the next begins. Learning how to calibrate thermal printers gives the printer the measurements it needs to stop, print, and advance accurately. For warehouse, manufacturing, shipping, and compliance operations, that means fewer skipped labels, fewer reprints, and more dependable barcode scans.
Calibration is not a one-time setup task. Any change in label size, gap, black mark, media color, sensor position, or ribbon can affect how the printer detects media. A quick calibration before a production run is usually far less costly than discovering a full roll of labels has been printed out of position.
What thermal printer calibration actually does
Thermal printer calibration teaches the media sensor what it should detect as label stock and what it should detect as the gap, notch, black mark, or continuous media between labels. The printer then uses that information to position each label under the printhead.
Most label printers use either a transmissive sensor or a reflective sensor. A transmissive sensor shines through the liner and identifies the gap between die-cut labels. A reflective sensor detects a black registration mark printed on the back of the liner or tag stock. Some printers support both methods, but the selected sensing mode must match the media being used.
Calibration is different from print darkness and print speed settings. Darkness controls the heat applied by the printhead. Speed controls how quickly the media moves. Those settings affect print quality, while calibration affects label positioning. A printer may produce dark, readable text and still feed one label too far if it has not been calibrated correctly.
When to calibrate a thermal printer
Calibrate after installing a new roll when the material differs from the prior stock. This includes a change in label width, length, gap size, liner, tag stock, or black-mark layout. You should also calibrate after moving the media sensor, switching between gap-sensing and black-mark media, or updating printer settings that affect media handling.
Certain print symptoms are also clear signs that calibration is needed. The printer may skip labels before printing, stop in the middle of a label, print across the gap, feed blank labels, or display an out-of-media error even though labels are loaded. These problems are often blamed on the printer driver or label software, but sensor calibration should be checked first.
If you use the same verified labels every day without changing media or sensor position, repeated calibration is not always necessary. Over-calibrating can create inconsistent results if the labels are dirty, poorly loaded, or outside the sensor’s range. Calibrate when something changes or when feed accuracy starts to drift.
How to calibrate thermal printers step by step
The exact button sequence varies by manufacturer and model. Desktop printers often use a feed button or a simple onboard menu, while industrial printers may provide a display-driven calibration routine. The process below applies to most direct thermal and thermal transfer label printers.
1. Confirm the correct media type
Before starting, identify whether the printer is using gap, notch, black-mark, or continuous media. Die-cut shipping and product labels usually use gap sensing. Tags with a black registration mark require reflective sensing. Continuous receipt paper or continuous label stock may require a fixed length set in the printer driver or label design software rather than sensor calibration.
Using the wrong media type setting is one of the most common reasons calibration fails. A printer set to gap sensing cannot reliably find black marks, and a printer set to black-mark sensing may ignore a normal die-cut gap.
2. Load labels straight and set the guides
Open the printhead and load the media according to the printer’s loading path. Keep the roll centered, route it beneath the sensor and guides, and close the printhead securely. Adjust the media guides so they touch the edge of the stock without pinching it.
Labels that wander sideways can pass inconsistently over the sensor. That can cause intermittent skips that look like an electronic problem but are actually a loading issue. For thermal transfer printing, confirm the ribbon is loaded with the coated side facing the label material and that the ribbon path is tight and wrinkle-free.
3. Position the media sensor correctly
Many industrial printers let you slide the sensor across the width of the media. For gap sensing, place the sensor where it can see the gap between labels, not a printed area, perforation, or unusually thick section of the liner. For black-mark media, align the reflective sensor directly over the registration mark.
This step matters especially with narrow labels, irregular shapes, hang tags, and preprinted materials. If the sensor sits under a solid part of the label instead of the gap or mark, the printer cannot establish a reliable reference point no matter how many times it is calibrated.
4. Run the printer’s calibration command
Use the printer control panel, menu, utility, or feed-button procedure to start media calibration. The printer will typically feed several labels while measuring the sensor values for the label and the gap or mark. Wait until the procedure finishes before opening the printhead or sending another job.
On many models, an automatic calibration is available through the printer menu under Media, Sensors, or Calibration. On others, you may power the printer off, hold the feed button, power it on, and release the button at the required indicator-light sequence. Refer to the specific printer documentation for that model’s control sequence rather than guessing.
5. Print a test label and check positioning
After calibration, send a small test job or print the printer’s configuration label. Check whether the top of the artwork starts where expected, whether the printer advances exactly one label after each print, and whether the next label is correctly positioned at the tear bar or peel edge.
A useful test includes a barcode, readable text, and a border near the edges of the label. The border makes vertical or horizontal drift easy to spot. Scan the barcode with the scanner used in the operation. A barcode can look acceptable to the eye yet fail at the dock, packing station, or customer receiving point.
6. Save the settings for the media in use
If the printer supports saved media profiles, record the sensor method, label dimensions, darkness, speed, and print offset for the approved label stock. This is particularly useful when an operation switches between carton labels, inventory labels, product labels, and compliance tags.
In EasyLabel, the label design should also match the physical label dimensions and printer configuration. Software cannot correct an incorrectly calibrated sensor, but matching the design setup to the loaded stock prevents a separate source of offset and sizing errors.
Common calibration problems and practical fixes
If calibration feeds several labels and then reports an error, inspect the sensor path first. Dust, adhesive buildup, torn liner, and label debris can interfere with detection. Clean the sensor area carefully with approved cleaning materials and reload the stock. Do not scrape the sensor with sharp tools.
If the printer consistently stops too early or too late after successful calibration, check the configured label length and top-of-form offset. Calibration finds the media boundary; the offset determines where the image begins relative to that boundary. Small adjustments may be appropriate for a specific printer and label application, but large offsets often indicate the wrong sensing mode or an incorrectly positioned sensor.
If only black-mark media fails, verify that the marks are dense enough and located consistently. A faded mark, glossy liner, or mark positioned outside the sensor’s travel range can prevent reliable reflective sensing. Some specialized materials require manual sensor calibration instead of the standard automatic routine.
Poor print quality after calibration usually points to a different issue. Confirm that direct thermal labels are not being used in a high-heat or high-abrasion application that requires thermal transfer stock. For thermal transfer jobs, match the ribbon formulation to the label material and adjust darkness gradually. Excessive darkness can make barcodes bleed, while insufficient darkness can produce weak scans.
Build calibration into your label control process
The most dependable operations treat calibration as part of media changeover, not as emergency troubleshooting. Keep approved label specifications with the printer, including the sensor type, label dimensions, ribbon requirement, darkness range, speed, and any offset setting. That gives operators a repeatable starting point and reduces reliance on trial and error.
It also helps to standardize label supplies. Substituting a similar-looking roll from an unverified source may change liner opacity, gap consistency, adhesive thickness, or black-mark contrast. Those differences affect sensor performance and can create downtime at the exact point labels are needed. The Label Guy can support a complete printer, label, ribbon, and software setup so those components are selected to work together.
A properly calibrated printer should feed predictably before the first production label is issued. Make that quick test part of every material change, and your labeling system will spend more time moving products and less time consuming them.