
How to Configure EasyLabel Printers Correctly
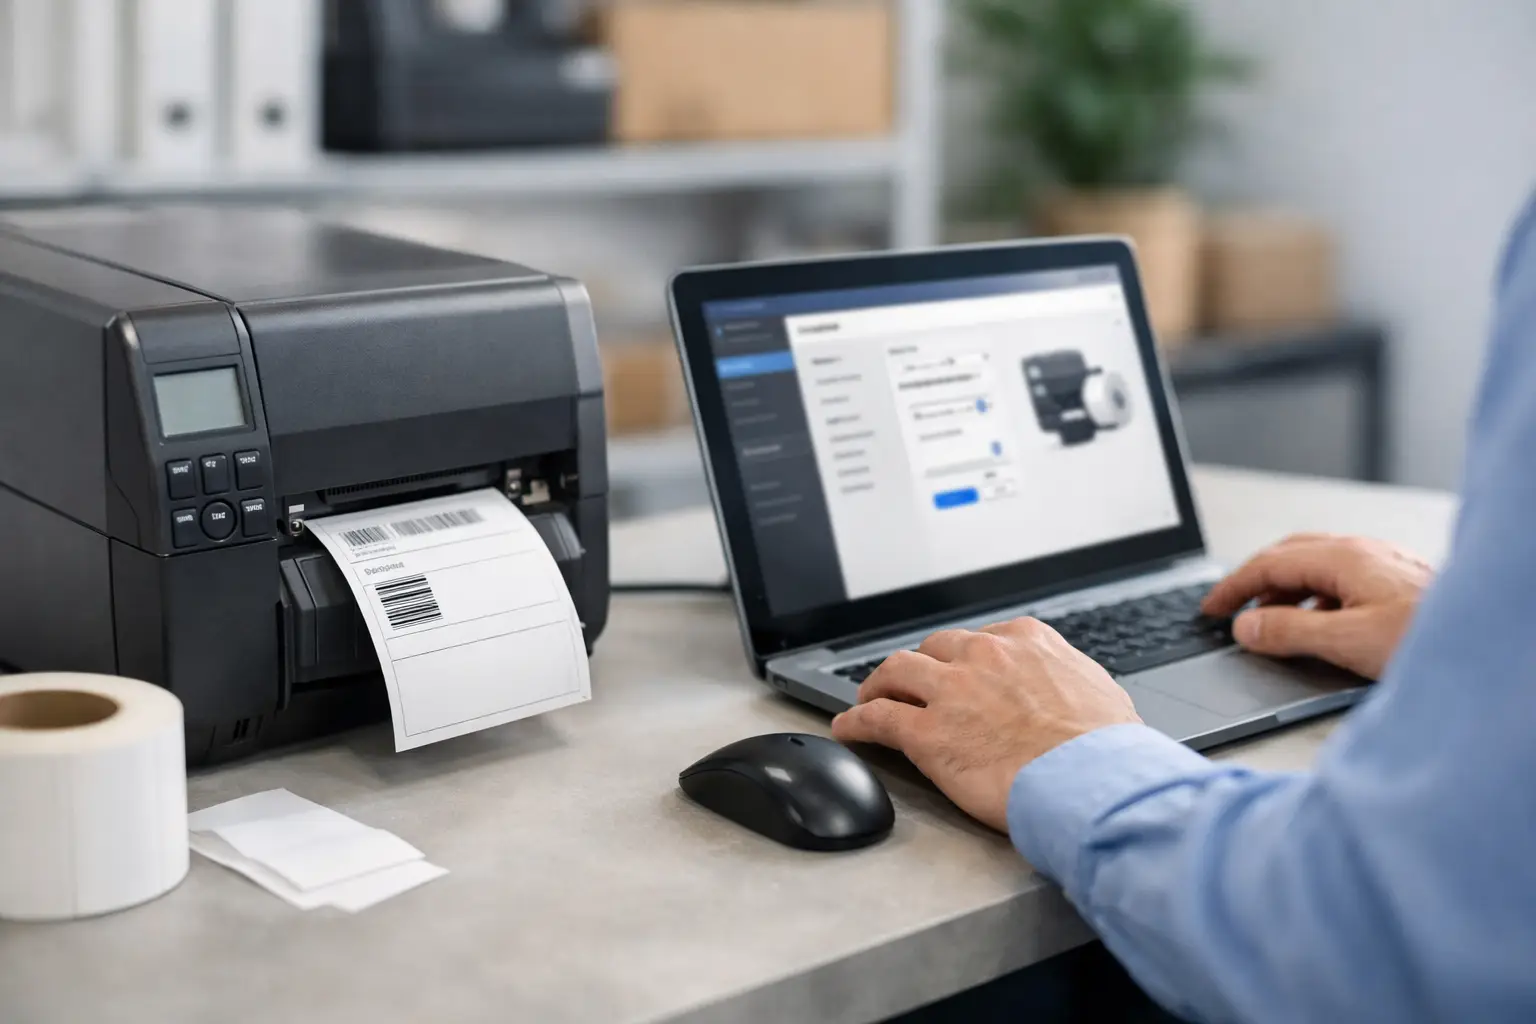
A printer that is physically connected but incorrectly defined in software can create more disruption than a printer that is offline. Labels may print at the wrong size, barcodes may be clipped, and operators may waste material trying to compensate for a setup issue. When you configure EasyLabel printers correctly, the software, printer driver, label stock, and ribbon work as one controlled labeling system.
For warehouses, manufacturing lines, shipping departments, and regulated operations, that control matters. A few minutes spent setting up the printer properly can prevent reprints, scan failures, inventory mistakes, and avoidable downtime later.
Start With the Complete Printing System
EasyLabel does not operate independently from the printer and media. Before adjusting settings in the software, confirm the physical components are appropriate for the application. That includes the printer model, connection method, label construction, ribbon type if using thermal transfer, and the required print resolution.
Direct thermal labels do not use ribbon and are often suitable for short-life shipping labels, receipts, and temporary tracking. Thermal transfer labels use ribbon and are generally the better choice when labels must resist abrasion, moisture, chemicals, handling, or extended storage. The printer configuration must match that decision. Selecting thermal transfer in software while the printer is loaded for direct thermal can result in poor image quality or unnecessary ribbon-related errors.
Print resolution also affects design decisions. A 203 dpi printer handles common barcode, shipping, and inventory labels well. Small text, dense 2D barcodes, tiny serialized labels, or precise electronics identification may require 300 dpi or higher. Do not design a label around detail that the installed printer cannot reliably reproduce.
Configure EasyLabel Printers in the Right Order
The most dependable process is to configure the operating system printer first, then select and verify it in EasyLabel. Trying to solve every issue from inside a label format often leads to conflicting settings.
Install the Correct Printer Driver
Install the driver intended for the specific printer make and model. A generic Windows driver may allow basic printing, but it can limit access to printer commands, sensor settings, speed controls, and print methods. Those limitations become apparent when a label needs exact positioning or when a format uses variable data.
After installation, print a Windows test page only if the printer and application support it. The more useful test is a small, simple label from EasyLabel because it verifies the actual production path. Confirm the printer is connected through the intended USB, Ethernet, serial, wireless, or network configuration. In shared environments, verify that the workstation is pointing to the correct network queue, not a similarly named printer in another department.
Set Label Size and Print Orientation
The label dimensions entered in the driver and the dimensions used in the EasyLabel format must agree. Measure the actual label, including the width across the print path and the label length in the feed direction. Do not rely solely on a box description, especially with custom labels, multi-across formats, tags, or labels with a nonstandard gap.
Set the orientation based on how the media travels through the printer. A label that looks correct on screen can rotate or clip during printing if portrait and landscape settings conflict between the driver and the format. If you are using a multi-across label, define the usable print area carefully and account for the horizontal gap between labels.
Match the Print Method to the Loaded Media
Within the printer driver or printer properties, select direct thermal or thermal transfer to match the material loaded in the printer. For thermal transfer applications, also verify that the ribbon is installed with the coated side facing the label material. Ribbon wound with the wrong side out may appear to print lightly, unevenly, or not at all.
The best ribbon and label combination depends on the environment. Wax ribbons can be cost-effective for standard paper labels. Wax-resin and resin ribbons are better suited to applications needing greater smudge and scratch resistance. A label used on a warehouse carton does not need the same construction as a label exposed to solvents, freezer conditions, or outdoor handling.
Calibrate the Printer Before Production
Calibration tells the printer where one label ends and the next begins. It is particularly important after changing label size, media type, sensor position, or roll construction. Without calibration, the printer may feed too far, stop short, print across a gap, or report an out-of-media condition even when labels are loaded.
Most thermal printers use a gap, black mark, notch, or continuous-media sensor. Select the sensor mode that matches the stock. Die-cut labels with a visible gap require a different detection method than black-mark labels or continuous receipt material. For reflective sensing, make sure the black registration mark is positioned where the printer sensor can read it.
Run the printer’s calibration procedure according to its controls or configuration utility, then advance several labels. The printer should consistently stop at the same starting position. Only after that test should you fine-tune vertical offset or tear-off position. Offsets are useful for small corrections; they should not be used to hide an uncalibrated media sensor.
Build a Practical Test Label in EasyLabel
Before sending a full production format, create a short test label containing plain text, a barcode, and a simple border. This gives you a fast way to check placement, darkness, print speed, and barcode readability without wasting a large run of labels.
In EasyLabel, select the installed printer and use the correct label format dimensions. Check the printer-specific settings available through the print dialog or driver properties. Depending on the printer, these may include darkness, speed, print mode, cutter operation, peel mode, and copies.
Start with moderate print speed and the manufacturer’s recommended darkness setting. Increasing darkness is not automatically the answer to a faint barcode. Excessive heat can cause bars to spread, text to fill in, ribbon to wrinkle, or synthetic labels to show unwanted marks. If print quality is weak, first inspect the printhead, confirm the media and ribbon are compatible, and slow the print speed slightly before making large darkness changes.
Barcode verification should be part of the test, not an afterthought. Scan the printed code with the same scanner type used in the operation when possible. A code that scans at a desktop workstation may still fail under the lighting, distance, handling, or scan-angle conditions found on a loading dock or production line.
Avoid Settings That Cause Repeat Problems
Several configuration mistakes appear repeatedly in business labeling environments. One is allowing an application to override the printer driver’s label size. Another is using a saved EasyLabel format that was created for a different printer resolution. A 4-by-6-inch shipping label designed for a 203 dpi printer can shift or lose detail when sent to a 300 dpi device without checking the printer settings.
Another common issue is using the wrong stock profile after a media change. Operators may switch from a 2-inch product label to a 4-inch shipping label, load the new roll, and continue printing with the old driver dimensions. Establish a simple procedure: load media, confirm print method, calibrate, select the corresponding EasyLabel format, and print one test label.
For network printers, avoid making critical configuration changes from multiple workstations. Printer settings should have an owner, particularly for shared production equipment. Otherwise, a change made for one job can affect every operator using that queue.
When a Configuration Problem Is Really a Supply Problem
Not every print defect is software-related. Faded output can come from a worn printhead, incompatible ribbon, low darkness, or unsuitable label facestock. Wrinkled ribbon can point to incorrect ribbon width, poor tension, uneven pressure, or a printhead issue. Labels feeding inconsistently may be caused by roll loading, sensor alignment, adhesive buildup, or media that does not suit the printer’s sensing method.
This is where buying hardware, software, labels, and ribbon from one labeling specialist has a practical advantage. The Label Guy can help align EasyLabel, thermal printers, and consumables around the actual application instead of treating each item as an isolated purchase. That reduces guesswork when a new label design, compliance requirement, or operating environment changes the system requirements.
Keep a Record of Proven Settings
Once a printer is producing acceptable labels, document the configuration. Record the printer model, driver version, connection or network name, label dimensions, sensor mode, print method, ribbon specification, darkness, speed, and the EasyLabel format name. Keep a printed approved sample with the record when barcode quality or compliance is critical.
That record turns a future media change, workstation replacement, or printer swap into a controlled setup task rather than a troubleshooting exercise. A dependable label operation is built on repeatable settings, verified output, and supplies chosen for the work the label must do.